【PowerAutomate】定期的にSharePointリストをcsv変換して保存するフローの作成
sanane SANANEBLOG
In this article, I’ll show you how to use Google Apps Script (GAS) to automatically send a thank-you email to respondents of a Google Form.
Google Forms is a convenient tool for collecting surveys and feedback, but it doesn’t provide a built-in feature for sending thank-you emails. In this guide, we’ll use Google Apps Script to add that functionality.
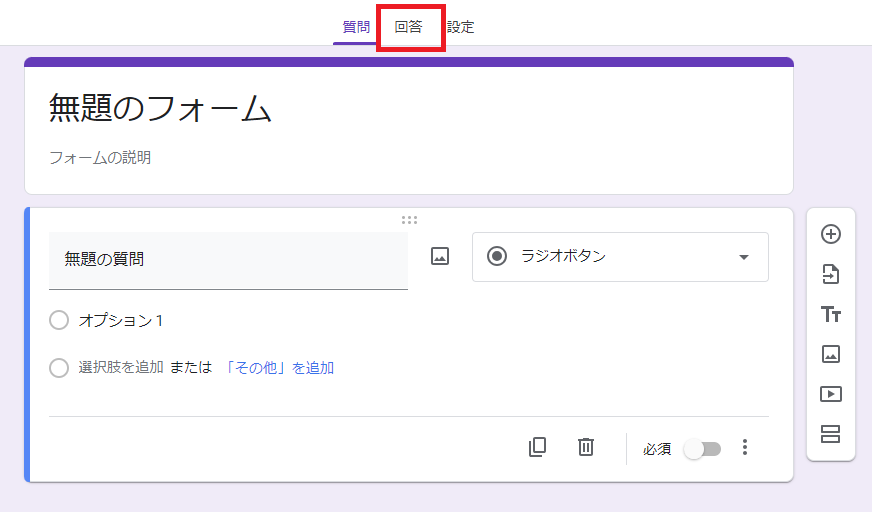
As a test, prepare a form like the one shown below.
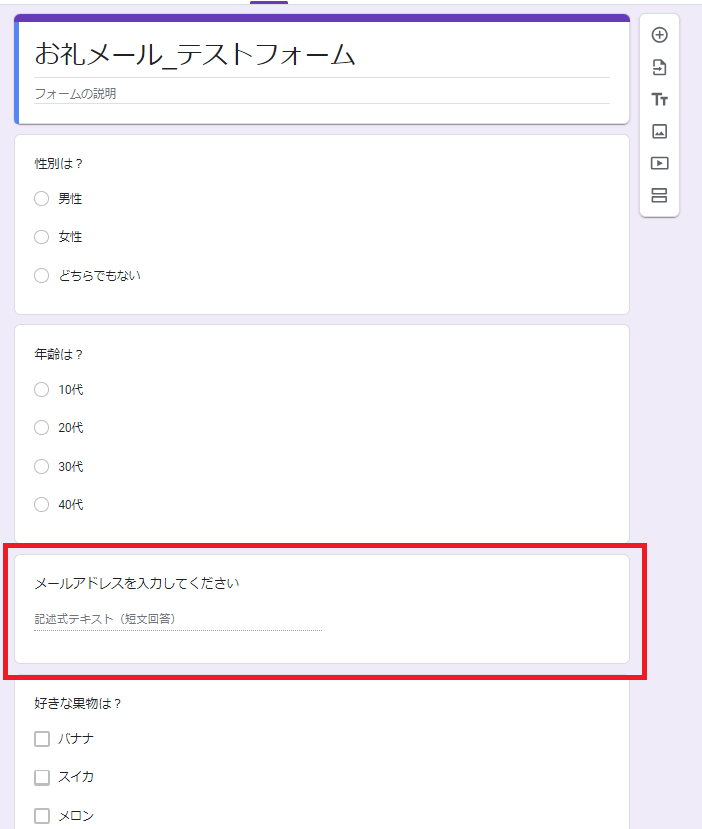
Include a question in the form that asks respondents for their email address (highlighted in the red box above).
When a respondent fills out the form and submits it, a thank-you email is automatically sent to the email address they entered.
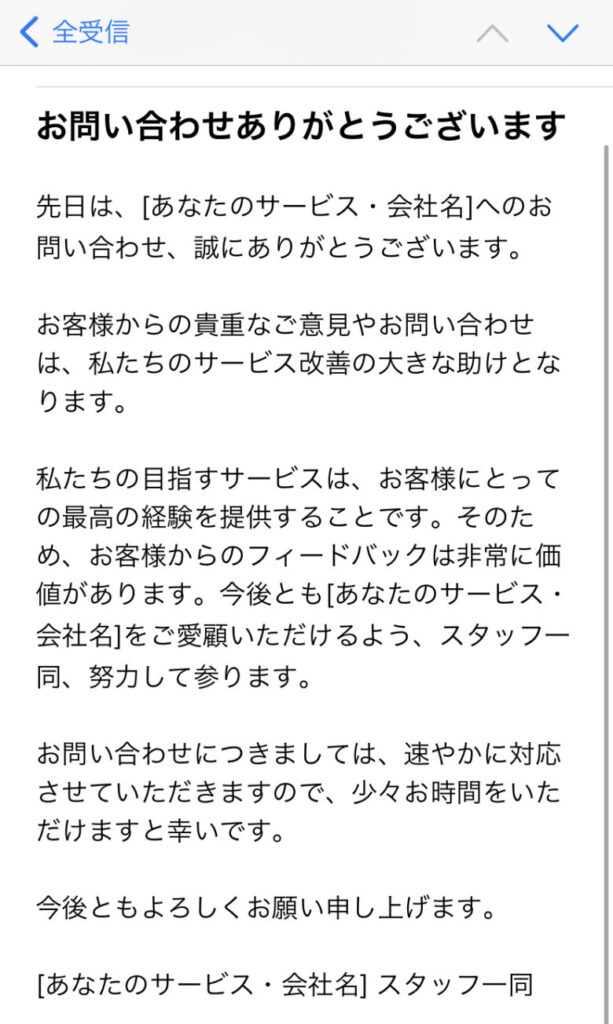

You can freely customize the email subject and body text. The sender address will be the email address of the form owner.
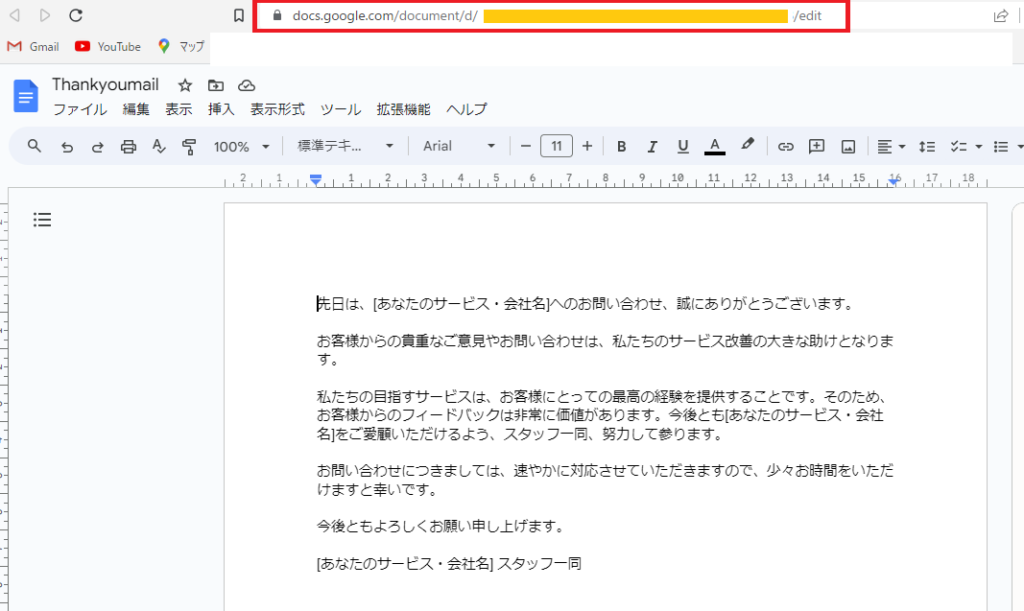
First, create the email body text. Open Google Docs.
Write the email body text in the document you created.
Once you’ve written it, make a note of the Document ID, which you’ll need later in the Google Apps Script.
https://docs.google.com/document/d/COPY_THIS_PART/editThe Document ID is the part labeled “COPY_THIS_PART” in the URL shown in your browser’s address bar.
Next, open Google Forms.
Select an existing form or create a new one, then add a question that asks respondents for their email address.
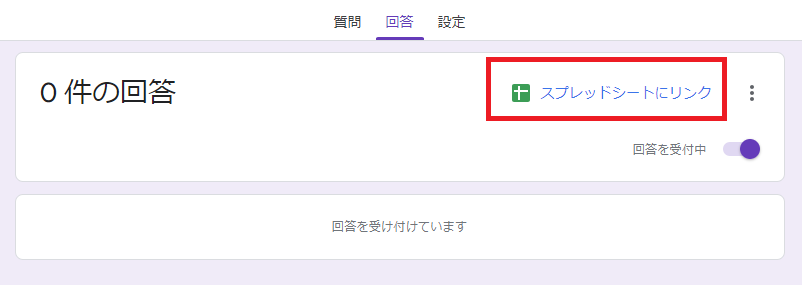
Once the form is ready, click “Responses” in the top bar.
Click “Link to Sheets”.
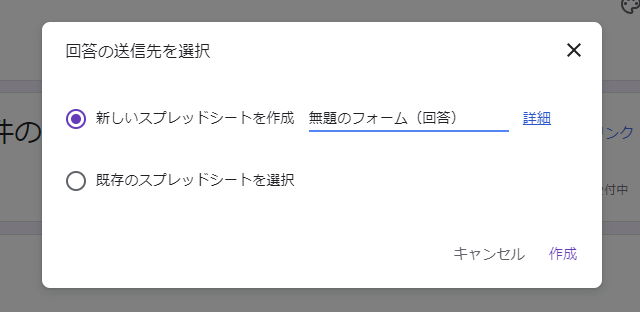
Unless you have a specific preference, select “Create a new spreadsheet”, give it a name, and click “Create”.
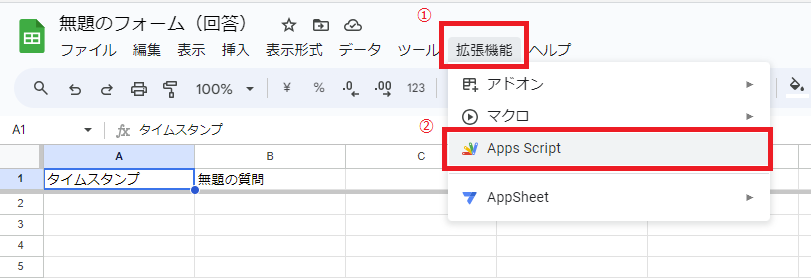
The spreadsheet will open automatically. Go to Extensions > Apps Script. The Apps Script editor will open.
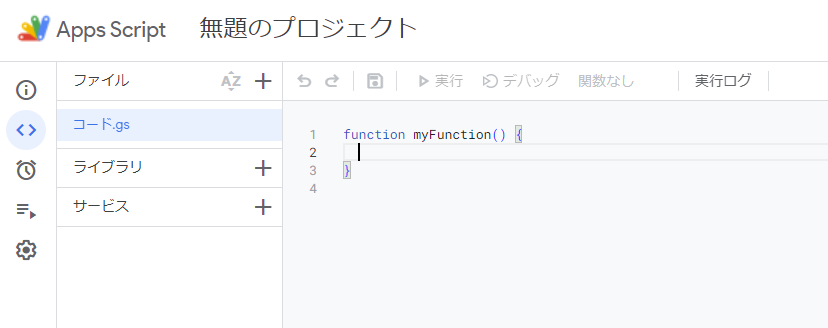
Now you’ll add the code. Delete the default code that reads myFunction(){} and paste the following code instead.
When pasting, fill in lines 2 through 4 with the following:
// Configuration
var EMAIL_SUBJECT = "Thank you for your inquiry"; // Email subject line
var DOC_ID = "YOUR_GOOGLE_DOCUMENT_ID"; // Google Document ID
var EMAIL_QUESTION_NUMBER = 3; // Which question number asks for the email address
function getDocText(docId) {
    var doc = DocumentApp.openById(docId);
    return doc.getBody().getText();
}
function sendThankYouEmail() {
  // Get the active Spreadsheet
  var sheet = SpreadsheetApp.getActiveSpreadsheet().getActiveSheet();
  // Get the data from the last row
  var lastRow = sheet.getLastRow();
  var data = sheet.getRange(lastRow, 1, 1, sheet.getLastColumn()).getValues();
  var email = data[0][EMAIL_QUESTION_NUMBER];  // Dynamically reference the email address column
  // Get text from the Google Document
  var message = getDocText(DOC_ID);
  // Send email
  GmailApp.sendEmail(email, EMAIL_SUBJECT, message);
}
function createTrigger() {
  // Create a trigger: run sendThankYouEmail every time a form is submitted
  ScriptApp.newTrigger('sendThankYouEmail')
  .forSpreadsheet(SpreadsheetApp.getActive())
  .onFormSubmit()
  .create();
}For line 4, using the test form shown in the “How It Works” section as an example, you would enter “3”.
Finally, press Ctrl + S or click the “Save project” icon in the toolbar to save the script.
Next, create a trigger that will fire the email-sending action.
In the Apps Script editor, click “Triggers” (the clock icon) in the left sidebar.
Click “+ Add Trigger” at the bottom of the page.
Set the function to run to sendThankYouEmail, set the event source to From spreadsheet, and set the event type to On form submit.
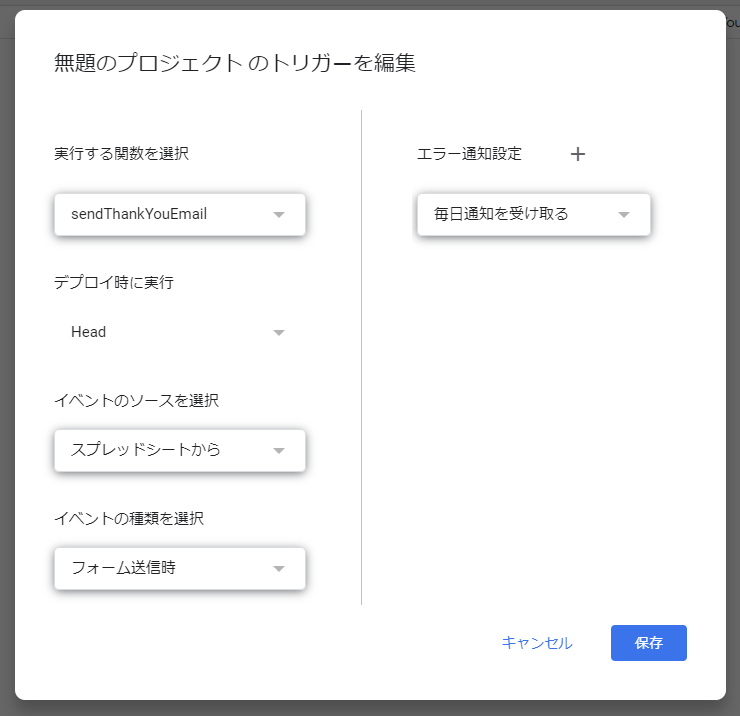
Click “Save”.
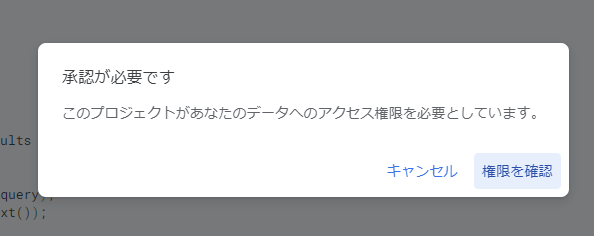
Since the first execution requires permission, if a modal saying “Authorization required” appears:
Navigate through “Review permissions” > Select your Google account > “Advanced” > “Go to Untitled project (unsafe)” > “Allow”.
After clicking through, the trigger will be created.
That’s it! The automation setup is complete. Now, send the Google Form to recipients by clicking “Send”, and when they respond, a thank-you email will be automatically sent to the email address they entered in the form.